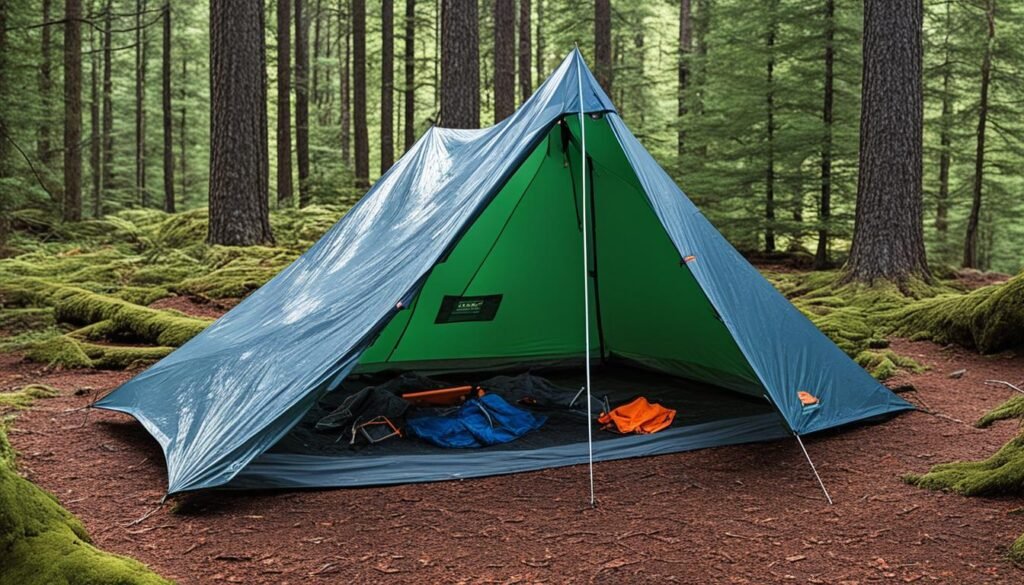
Going on a solo camping trip lets you think deeply and feel close to nature. The excitement of an outdoor adventure is clear, but setting up a tent may worry some new campers. Yet, with smart planning and an easier way, putting up your tent doesn’t have to be hard. This way, you get to the peaceful part of your outdoor trip quickly.
Solo camping is quite affordable, costing $35-$45 per night. This makes it a cheaper choice than staying at RV parks, which can be $30 to $100 nightly. Setting up a tent as a solo camper can also be fun and straightforward with the right tips. So, enjoy the process and get ready for a great adventure.
Although RVs are easier and safer in a way, solo camping is really about being one with nature and being eco-friendly. Both RV and tent camping need to be done safely. When you follow the advice in this camping guide and do what’s right, your solo camping trip will be both secure and rewarding.
Choosing the Right Tent for Solo Camping
Choosing the best solo tents means looking at features like comfort and durability. Outdoor Gear Exchange (OGE) has over 140 tents to choose from. It’s essential to know what makes a tent right for those on their own.
The Moon Lence Instant Pop Up Tent is great for quick setup. It has a special hydraulic system. Pre-attached poles cut down on setup time, which is perfect when you’re camping alone. Make sure the tent you pick is big enough for you and your gear. A 2-person tent might be better, so you don’t feel crowded.
Looking for a lightweight shelter? Here are some key things to keep in mind:
- Weight: For backpacking, aim for tents that are about 2 lbs each. Family tents might weigh up to 20 lbs.
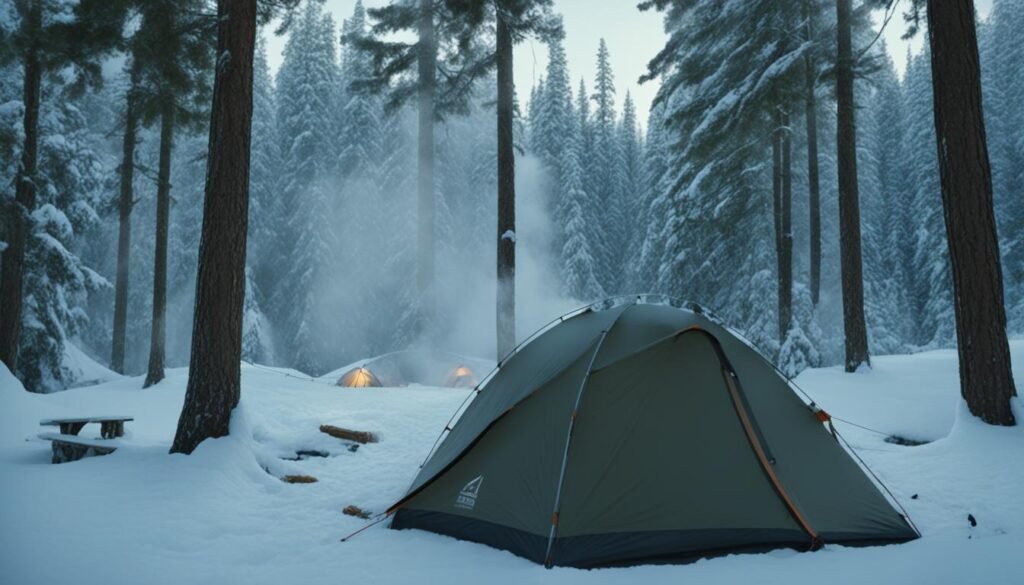
- Weather Resistance: If you’ll camp year-round, choose a 4-season tent. 3-season tents are fine for warmer times.
- Construction: Tents with two walls are better at staying dry inside. Look for ones with aluminum poles for a good balance of strength and weight.
- Space: Check the peak height to see if you can sit or stand up inside. The floor area tells you how much space you’ll have.
- Features: Important features include mesh to keep bugs out, a waterproof floor, a protective footprint, guylines, and extra doors or vestibules for storage. These all make your tent work better.
Think carefully about these points. Then, choose a tent that fits your wants and needs. Whether you want a tent you can set up fast or one that’s lightweight, the right choice will make your camping trip better.
Essential Gear for Solo Camping
Having the right gear is key for solo camping to be fun. A smart solo camping gear list will turn your trip into a great adventure.
First, get a good shelter. The Moon Lence Instant Pop Up Tent, about $120 on Amazon, is perfect for quick setup and lasting well. For sleep, The North Face Eco Trail Bed 20 Sleeping Bag, around $100 for cold nights, makes sure you’re comfy. Add an air mattress for under $40 for extra coziness.

Staying dry and warm is crucial. A $34 tarp covers you from the elements. Also, pack things like a cooler with wheels and a tablecloth for clean dining.
Making meals is easy with a one-burner stove at approximately $50. Add a $26 kit of cooking gear. They fit in a small bag, perfect for solo trips.
Don’t forget a good mattress for your vehicle at about $70. It makes sleeping in your car comfy. Plus, bring cooking tools like can openers and knives to make food better.
Check the weather before you go and pack right. A tarp or tent footprint makes your camp cozier. Always know local safety info and find services like gas and food stores.
Picking the best gear means your camping experience will be smooth and enjoyable. A custom solo camping gear list sets you up for a great, worry-free journey.
Finding the Perfect Spot to Pitch Your Tent
When going solo camping, where you set up your tent matters a lot. Look for a spot that’s flat, safe from fires, and big. Places like KOA have special spots just for tents, making it easier.
It’s also smart to pick a place that’s high and dry. This keeps your stuff dry and you comfortable. Trees can make a cozy area, shielded from the wind. But stay away from dips where water might collect.
Think about where the wind blows for safety. Direct your tent to face the wind if it’s strong. This keeps things from blowing over. In hot weather, facing the door to catch breezes is a good idea.
And remember the Leave No Trace rule. Keep your tent at least 200 feet from water to protect it. This helps keep camping spots beautiful and safe for everyone.
Preparing Your Campsite
Choosing a good spot for your solo camp is just the start. Ensuring your campsite is set up right is key for comfort and safety. Clear the area of rocks, twigs, and other stuff. This makes the ground smooth for your tent and avoids damage to the tent.

Next, check how firm the ground is. Firm ground is best for your tent. But, you can make it soft with leaves or grass for extra comfort. To keep the ground dry, put a tarp under your tent. This small step will help your tent last longer and make your camping better.
Setting up your campsite right is more than just putting up a tent. With a little care, like cleaning the area and using a tarp, your solo camping trip will be fun and easy.
Step-by-Step Tent Setup Guide
Setting up a tent is key for every camper. This guide shows you how to pitch a tent. We’ll share easy and efficient tent assembly instructions.
- First, pick a flat area that’s clean of rocks and debris. This step ensures a comfy sleep. Also, think about wind and sun for your tent spot.
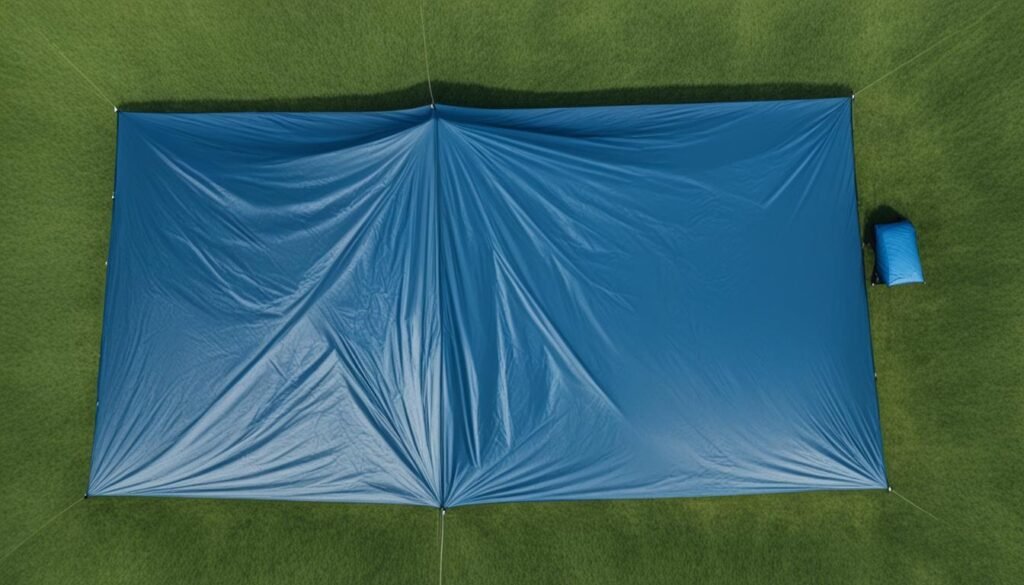
- Lay the tarp down in your spot. It acts as a moisture barrier and provides a clean base for your tent.
- Unroll your tent on top of the tarp. Insert the tent poles into their sleeves.
- Now, after the poles are set, lift your tent up. Make sure it stands up right.
- Use stakes to anchor your tent to the ground. Place them at a 45-degree angle for a strong hold.
- If your tent has a rain fly, put it over the top. This protects you from rain.
- Attach and tighten the guylines. This makes your tent more stable, even in the wind.
Today’s tents are light and easy to set up. Always air dry your tent after a trip. This keeps it from mildewing. Roll your tent when packing. This helps avoid creases and keeps your tent in good shape for longer.
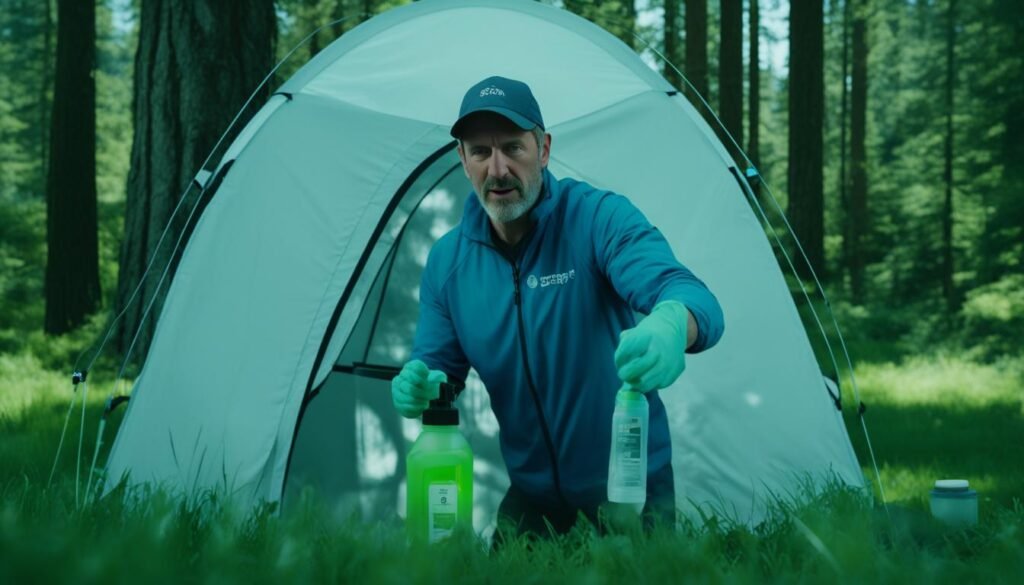
Moisture can harm your tent. So, air it out regularly. Follow these steps for a smooth camping experience.
Quick and Easy Tent Setup: A Guide for Solo Campers
Setting up a tent for one person needs planning and the right technique. These camping ideas work whether you’ve camped a lot or are just starting. They make sure you don’t have trouble on your next adventure alone.
Pick a tent that is easy and fast to put together. Some have poles and clips that are color-coded for quick setup. It’s smart to practice setting it up at home before your trip.
Camping alone is easier with less gear. Pick small, light tents like the Big Agnes Tiger Wall UL1. It’s great for quick trips and backpacking in the spring, summer, and fall.
Where you put your tent also matters. Look for spots away from crowds or campsites with lots of helpful services. These places can offer quiet plus things you need while keeping to yourself.
Camping alone can free you from having to coordinate with others. It can make you feel more confident and happier by learning to rely on yourself. These tips will help you enjoy nature peacefully and set up your tent easily and quickly.
- Choose a user-friendly tent designed for minimal setup difficulty.
- Practice setting up your tent in your backyard to familiarize yourself with the process.
- Pack lightweight and compact gear to simplify your solo travel experience.
- Select your camping site wisely, balancing solitude and essential amenities.
Setting Up Different Types of Tents
It is key for solo campers to know how to set up different tents. Dome, tunnel, and A-frame tents are the main types. Each has its setup style. This guide helps campers set them up right.
- Dome Tents: Dome tents are easy to put together. They use flexible crossed poles. This makes them strong against tough weathers. Just put the poles in their sleeves and stake the tent down. It not only stays sturdy but also gives more room inside.
- Tunnel Tents: Tunnel tents have lots of space and are good for long trips. Setting them up is a bit harder than domes. First, lay the tent out and put the poles in. Then, tie it down with guylines to keep it steady, especially in wind.
- A-Frame Tents: A-frame tents are known for their easy setup. They need guylines for extra support. Put the frame up and place the tent over it. Then, stake the corners and tighten the guylines. This keeps the tent steady and in shape.
The tent type you pick depends on how and where you camp. Dome tents are good for flexibility. Tunnel tents for extra space. A-frame tents for their clear setup. Each type offers a different camping style. Learning how to set them up helps solo campers have a great time.
Troubleshooting Common Tent Setup Issues
Setting up your tent by yourself can sometimes be tough. One big issue is getting the stakes into hard ground. It’s wise to bring a hammer. Or, you could use rocks around the stakes to make sure your tent stays put.
Strong winds pose a real problem. In Landmannalaugar, for example, winds hit 42.8 knots (79 kph) in a storm. For freestanding tents, make sure to use all the guy lines. Choose strong, non-stretchy lines for mountaineering tents too. This helps prevent damage from the wind.
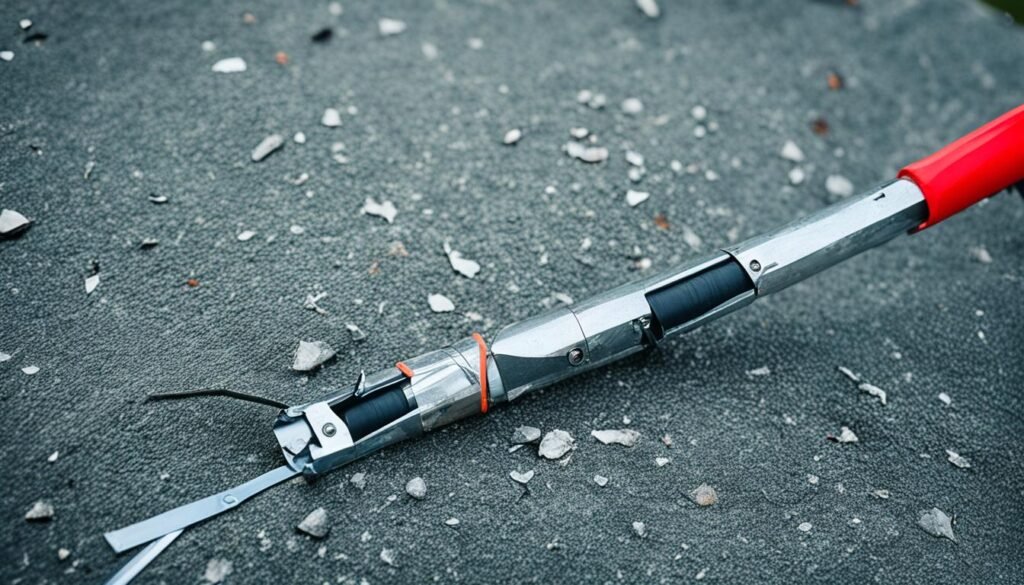
Before any trip, check your tent for wear and tear. Watch for frays in the guylines and any thin spots in the tent fabric. If you spot problems, fix them first. A handy repair kit can take care of small issues, like fixing ripped flies or poles. This ensures your shelter is strong for your adventure.

