When camping in an area without trees to hang a tarp over your tent, there are alternative methods you can use to ensure dry and comfortable camping. These methods involve using poles or sticks, along with ropes and stakes, to create a sheltered area over your tent. By following these techniques, you can still enjoy the benefits of having a tarp over your tent, even in treeless surroundings.
Key Takeaways:
- Learn alternative methods to set up a tarp over your tent when there are no trees available.
- Use poles or sticks, along with ropes and stakes, to create a sheltered area over your tent.
- Ensure your tarp provides protection from rain and wind, making your camping experience more comfortable.
- Practice setting up your tarp before your camping trip to become more efficient and confident in your skills.
- Choose the right tarp for your needs, considering factors such as thickness, type, size, ease of use, and color.
Why Use a Tarp When Camping?
Using a camping tarp offers numerous benefits that can enhance your camping experience. Whether you’re a seasoned camper or just starting out, incorporating a tarpaulin into your camping gear can make a noticeable difference in your comfort and convenience.
Protection Against Precipitation
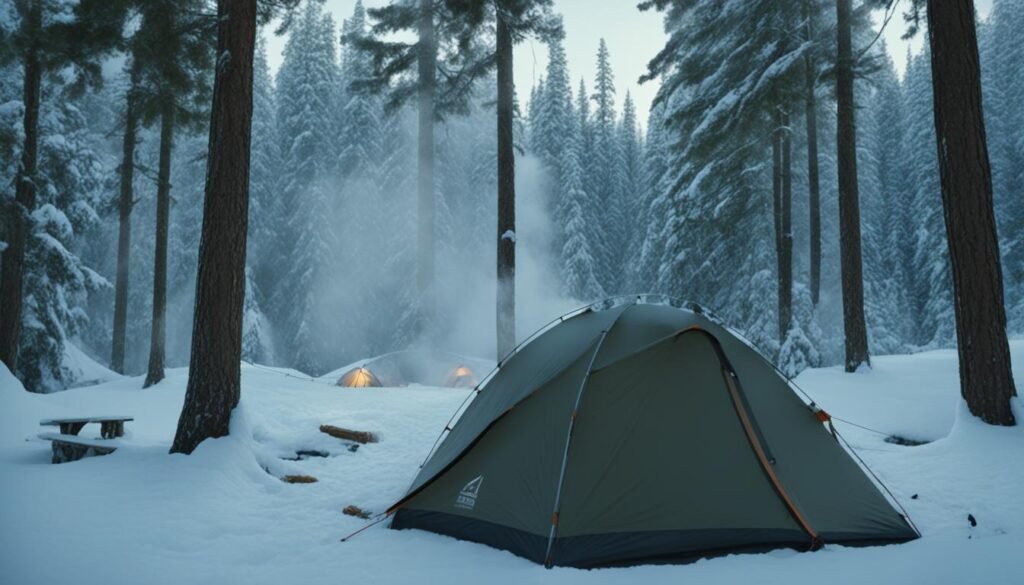
A camping tarp provides an additional layer of protection against rain, snow, and other forms of precipitation. By setting up a tarp over your tent, you can prevent water from seeping through the tent fabric, keeping the interior dry and cozy. This not only ensures a good night’s sleep but also helps prolong the lifespan of your tent.
Improved Ventilation and Breathability
When camping, proper ventilation is crucial for a comfortable and enjoyable experience. A tarp creates a sheltered area outside your tent, allowing air to circulate and reducing condensation inside the tent. This improved airflow helps regulate temperature and reduces the risk of moisture buildup, enhancing overall comfort while you sleep or relax in your tent.
Additional Storage and Easy Packing
A camping tarp provides a convenient space for storing camping gear and equipment. By creating a covered area outside your tent, you can keep essential items within easy reach while protecting them from the elements. Additionally, when it’s time to pack up and head home, a tarp makes it easier to handle a wet or dirty tent. Simply detach the tarp, shake off any debris, and fold it separately, keeping your tent clean and ready for your next adventure.
Versatility on the Trails
Beyond providing shelter for your tent, a camping tarp can serve multiple purposes during outdoor excursions. If you find yourself needing temporary shelter while hiking, backpacking, or exploring, the tarp can be quickly transformed into an impromptu refuge against sun, rain, or wind. It can also serve as a makeshift picnic or dining area, protecting you from the elements while enjoying a meal in the great outdoors.
Tent Footprint and Floor Protection
Using a tarp as a tent footprint is an excellent way to protect the floor of your tent from rough, rocky terrain or wet ground. Placing a tarp underneath the tent provides an additional barrier against moisture, punctures, and abrasions, increasing the longevity of your tent. It also makes cleaning and maintenance easier, as you can simply wipe down or shake off the tarp.
Having the knowledge and ability to pitch a tarp is a valuable skill for any camper. Whether you’re faced with unexpected weather conditions, need additional storage space, or simply want to enhance your camping comfort, a tarp can be a versatile and essential piece of equipment.
Method 1: With Trees
When it comes to setting up a tarp over your tent without trees, one effective method is to utilize a ridge line between two sturdy trees. This technique allows you to create a secure and stable tarp shelter, providing protection against the elements during your camping trip.
To begin, you will need to attach guy lines to the corners of your tarp. These guy lines will be used to secure the tarp to the trees and ensure proper tension. Tie the ridge line to the trees, making sure it is taut and securely fastened. This ridge line will serve as the central support for your tarp.
Once the ridge line is in place, drape the tarp over it, ensuring that it is smooth and free of any wrinkles. This will help prevent water from pooling on top of the tarp, ensuring maximum protection against rain or snow.
Next, stake down the corners of the tarp to the ground. You can use tent pegs or additional guy lines if necessary to ensure a secure attachment. Adjust the tension of the guy lines to achieve a tight and stable tarp shelter. This will prevent the tarp from sagging or flapping in the wind, providing a comfortable and reliable camping experience.
By utilizing trees and a ridge line, you can successfully set up a tarp over your tent without the need for natural tree support. This method offers a convenient solution for campers in treeless environments, allowing them to enjoy the benefits of a well-protected and sheltered camping experience.
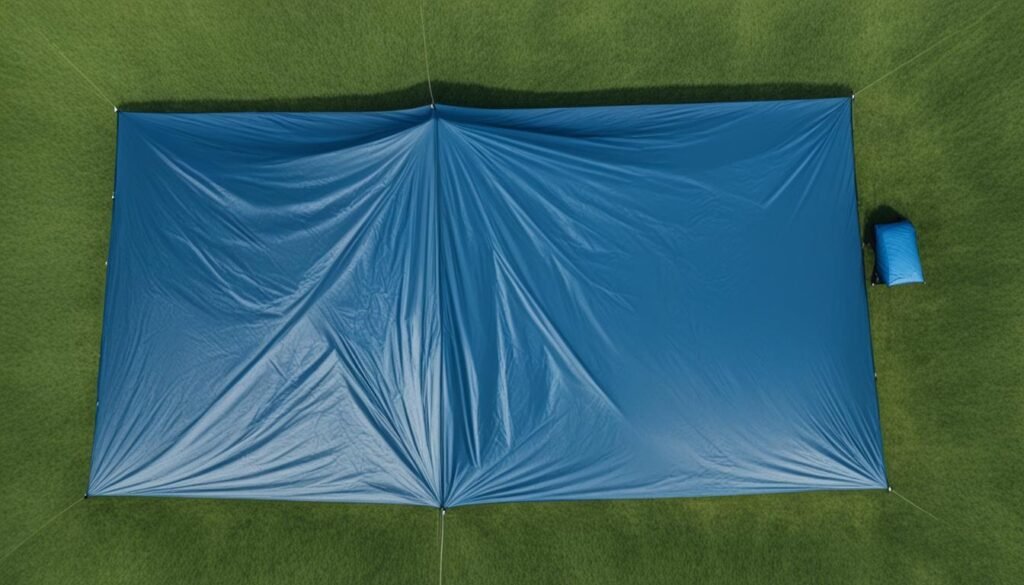
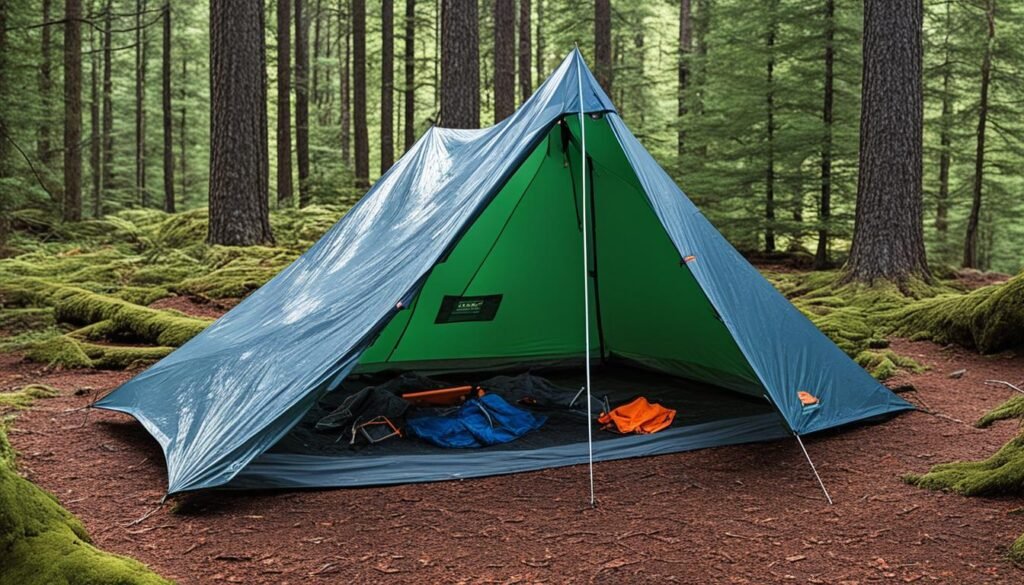
Method 2: Without Trees
When you find yourself in a camping area without trees, don’t worry! There are still alternative methods to set up a tarp over your tent and create a sheltered space. One effective method is to utilize poles or sticks to construct an A-frame shelter.
Here’s how to do it:
- Place a pole or stick at each end of your tent, ensuring they are sturdy and secure.
- Attach a ridge line between the two poles/sticks by tying it securely.
- Drape the tarp over the ridge line, making sure it is taut and smooth.
- Secure the corners of the tarp to the ground using stakes, ensuring a firm grip.
- Adjust the tension of the guy lines attached to the tarp to create a stable shelter.
If poles or sticks are not available, you can also make use of rocks or other objects that can act as supports for the tarp. Simply prop up the tarp using these items, ensuring it is elevated enough to provide ample coverage for your tent.
Remember, the key is to create a taut and smooth surface with proper anchoring, allowing the tarp to effectively shield your tent from the elements.
| Benefits | Considerations |
|---|---|
| Easy to set up with basic equipment | Requires additional items like poles or rocks |
| Provides a stable and secure shelter | May not be as resistant to strong winds as tree-supported setups |
| Allows for customization based on available materials | Requires some trial and error for optimal setup |
By following this method and using alternative tarp rigging techniques, you can still enjoy a comfortable and protected camping experience even without trees.
Required Equipment
To set up a tarp over your tent without trees, you will need the following equipment:
- Camping Tarp: The main covering for your shelter, providing protection against rain and wind.
- Guy Ropes or Ropes: Used to secure the tarp to the ground, ensuring stability and preventing flapping in strong winds.
- Stakes: Anchors for the guy ropes, designed to hold the tarp in place and resist tension.
- Poles or Sticks: Essential for creating the structure of the tarp shelter, helping to form a sturdy and reliable framework.
- Bungee Cord Balls: These provide flexibility and attachment points for the tarp, allowing for easy adjustments and a secure setup.
Having all the necessary gear ensures that you can effectively set up a tarp shelter over your tent, even in treeless camping environments.
Set Up One Pole Tarp: (Closed-End A-Frame Shelter)
When you have only one pole or stick available, you can still create a secure and functional closed-end A-frame shelter using a tarp. Follow these steps to set up your one-pole tarpaulin and enjoy a protected camping experience:
- Prepare the Ground: Find a flat surface where you can lay out your tarp. Remove any debris or sharp objects that could potentially damage the tarp or impact your comfort.
- Attach Guy Lines: Take your tarp and attach guy lines to each corner. Make sure they are securely tied and can withstand tension.
- Stake Down the Guy Lines: Position one of the guy lines attached to a corner at the back end of the tarp, creating a taut line to serve as the rear support. Stake it into the ground using a sturdy stake or anchor it with a heavy object.
- Secure Two Symmetrical Guy Lines: Place the remaining two guy lines at the front of the tarp, ensuring they are symmetrically positioned. Stake them into the ground or use heavy objects as anchors.
- Insert the Pole: Take your pole or stick and insert it through the tarp along the ridge line. Align it with the center of the tarp and make sure it rests securely on the ground.
- Secure the Pole: Attach a guy line to the pole near the top and secure it with a knot or fastener. Stake down the other end of the guy line to ensure stability and prevent the pole from shifting.
- Adjust and Tighten: Check the tension of all the guy lines and adjust them as necessary to achieve a tight and secure shelter. Make sure the tarp is smooth and free of wrinkles, allowing rainwater to run off easily.
This closed-end A-frame tarp shelter provides protection from the elements, especially wind and rain. It offers a cozy space for you to relax and enjoy your camping experience. Remember, practice setting up this shelter configuration before your camping trip to ensure efficiency and confidence when you’re out in the field.
“A closed-end A-frame shelter using a tarp creates a secure and functional camping space, even with just one pole or stick.”
| Advantages | Considerations |
|---|---|
| – Provides protection from wind and rain | – Requires a suitable flat surface for setup |
| – Offers a cozy and comfortable camping space | – Limited headroom compared to other tarp setups |
| – Requires only one pole or stick for support | – May not provide as much airflow as an open-end shelter |
Set Up Two Pole Tarp: (A-Frame Shelter)
If you have two poles or sticks available, you can create an A-frame shelter for your tarp. This configuration provides a sturdy and reliable structure that can withstand various weather conditions.
Here is a step-by-step guide on how to set up a tarp using two poles:
- Tie guy lines to the corners of the tarp. This will allow you to secure the tarp to the ground and ensure stability.
- Stake down the corners of the tarp using tent pegs or small stakes. This will prevent the tarp from shifting or blowing away.
- Insert a pole or stick on each side of the tent and position them at an appropriate distance apart.
- Attach a ridge line between the two poles. A ridge line is a rope or cord that runs across the top of the tarp to create the A-frame shape.
- Hang the tarp over the ridge line, making sure it is centered and evenly draped on both sides.
- Adjust the tension of the guy lines to ensure a taut and secure tarp shelter. This will help keep the tarp in place and prevent sagging during windy conditions.
By following these steps, you can effectively set up a two-pole tarpaulin shelter, also known as an A-frame configuration. This setup provides ample protection from rain, wind, and other elements, allowing you to enjoy a comfortable camping experience.
| Advantages | Disadvantages |
|---|---|
| Sturdy and stable structure | Requires two poles or sticks |
| Provides excellent coverage for the tent | May take some time to set up |
| Allows for good ventilation | Requires additional equipment (guy lines, stakes) |
| Easy to adjust tension and secure the tarp | Not suitable for all tarp sizes |
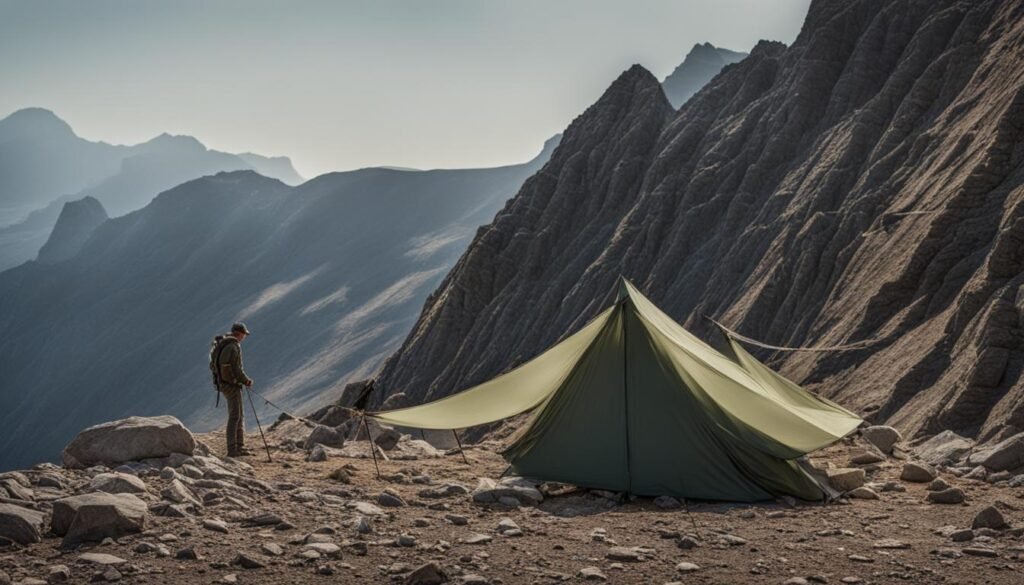
What If You Don’t Have Any Poles?
If you find yourself without any poles or sticks for setting up a tarp over your tent, don’t worry! There are still alternative methods you can use to create a makeshift shelter. While these methods may not provide the same level of stability as using poles, they can still offer some protection from the elements.
If you don’t have any poles or sticks available, one option is to use rocks or other objects to prop up the tarp. Look for sturdy and stable rocks that can serve as support points for your tarp. Carefully position the rocks to create a basic structure, then drape the tarp over them, ensuring it is taut and secure. This improvised tarp shelter can provide temporary coverage and shield your tent from rain or sun.
Another option is to utilize your tent or sleeping arrangement as a base for attaching the tarp. Secure the tarp to the tent using guy lines and stakes, creating an alternative tarp canopy. Attach the guy lines to the tarp’s corners and anchor them to the ground using stakes. By tensioning the guy lines properly, you can create a sloping surface that allows rain to run off without pooling on the tarp.
Remember: When using rocks or other objects to support your tarp, ensure they are stable and won’t shift or roll, potentially causing damage to your shelter or tent.
In situations where poles or sticks are not available, it’s important to make the most of the resources around you. By improvising with rocks or using your tent as a base, you can still create a functional tarp shelter to protect your tent and enhance your camping experience.
Quote:
“When you don’t have poles or sticks for your tarp setup, you have to get creative with the resources around you. By using rocks or leveraging your tent as a support, you can make do without traditional poles and still enjoy the benefits of a tarp shelter.”
Become Familiar With Your Knots
Before attempting to set up a tarp over your tent, it is important to become familiar with a few essential knots. These knots play a crucial role in securely tying the tarp and guy lines, ensuring a stable and reliable shelter.
Below are some essential camping knots that you should learn and practice:
1. Trucker’s Hitch
The trucker’s hitch is a versatile knot that creates a taut line, allowing you to tighten and secure your tarp setup.
2. Slip Knot
The slip knot is a simple and adjustable knot that can be used to attach guy lines to tent stakes or create loops for hanging the tarp.
3. Evenk Knot
The Evenk knot is a quick and secure way to tie a loop that won’t slip or come undone easily. It is often used for attaching guy lines to tent corners or tying knots in the middle of a line.
4. Two Round Turns
The two round turns knot is a strong and reliable knot that provides added security when tying guy lines to stakes or other anchor points.
5. Half Hitch Knot
The half hitch knot is a basic knot that can be used to secure the end of a line around an object or create an additional loop for attaching to stakes.
By mastering these essential knots, you will have the skills needed to confidently and effectively set up a tarp shelter for your camping adventures.
To help you visualize these knots and understand their proper applications, refer to the table below:
| Knot | Application | Image |
|---|---|---|
| Trucker’s Hitch | Create a taut line for tightening and securing the tarp setup. | |
| Slip Knot | Attach guy lines to tent stakes or create loops for hanging the tarp. |  |
| Evenk Knot | Securely tie a loop for attaching guy lines to tent corners or other anchor points. | |
| Two Round Turns | Tie guy lines to stakes or other anchor points with added security. | |
| Half Hitch Knot | Secure the end of a line around an object or create an additional loop. |  |
Mastering these essential camping knots will provide you with the knot-tying skills necessary for setting up a secure and reliable tarp shelter. Practice these knots before your camping trip to ensure that you can confidently tie, tighten, and secure your tarp and guy lines, allowing for a comfortable and protected camping experience.
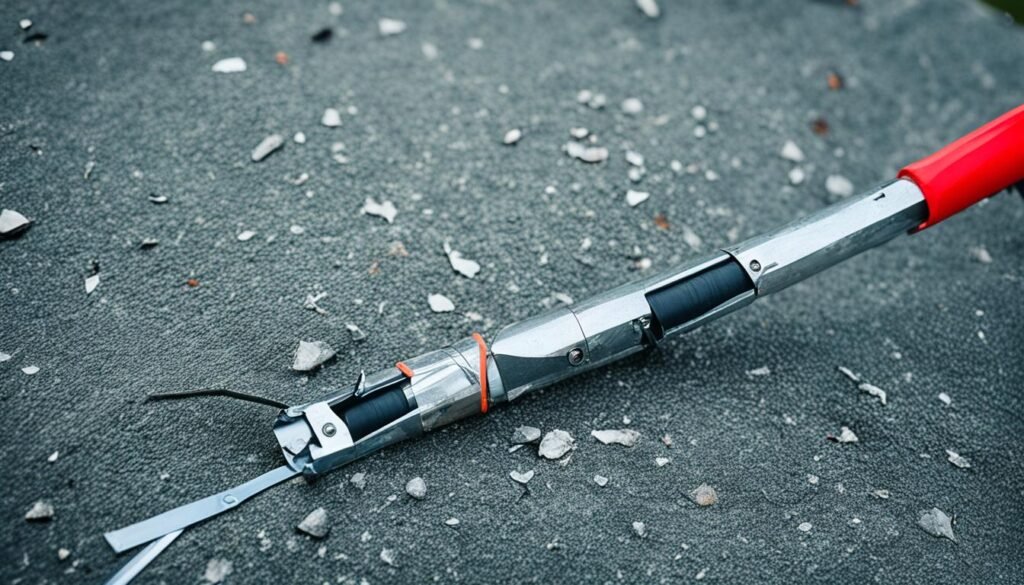
Guy Ropes And Stakes Are Important
When it comes to setting up a tarp shelter, the importance of guy ropes and stakes cannot be overstated. These essential components play a crucial role in ensuring tarp stability and securing the tarp to the ground.
Guy ropes are the ropes attached to the corners of the tarp that provide tension and support. They help keep the tarp taut and prevent sagging, especially during strong winds or heavy rainfall. Sturdy and durable guy ropes are essential to withstand the elements and keep your tarp shelter in place.
Stakes, on the other hand, anchor the tarp to the ground, providing stability and preventing the tarp from being blown away. It is important to choose sturdy stakes that can penetrate the ground easily and hold firm. These stakes should be securely fastened to ensure that your tarp remains in position, even in adverse weather conditions.
Properly securing the tarp to the ground with guy ropes and stakes is essential for creating a stable and reliable shelter. It ensures that the tarp stays in place, providing the desired protection for your tent and keeping you dry and comfortable throughout your camping adventure.
Choosing the Right Guy Ropes and Stakes
When selecting guy ropes, opt for ones made from high-quality materials such as nylon or polyester. These materials are durable, weather-resistant, and have a high tensile strength, making them capable of withstanding the strains placed on them by wind and other external forces.
As for stakes, choose ones that are strong, lightweight, and easy to drive into the ground. Aluminum or titanium stakes are popular choices due to their durability and lightweight nature. Additionally, consider the terrain in which you will be camping. Longer stakes may be necessary if you are camping in loose or sandy soil, while shorter stakes may suffice for firm or rocky ground.
Securing Your Tarp
To secure your tarp, start by attaching the guy ropes to the corners of the tarp. Ensure that they are attached securely and evenly distributed. Next, drive the stakes into the ground through the guy rope loops or tie the guy ropes to nearby objects such as trees or rocks. Make sure the tension in each guy rope is equal to maintain stability.
Adjust the tension in the guy ropes as needed to keep the tarp taut and prevent sagging. This will help water run off smoothly and maintain the desired shape of your shelter. Regularly check the tension and stakes throughout your camping trip to ensure that everything remains secure.
By prioritizing the use of guy ropes and stakes, you can create a sturdy and reliable tarp shelter. This will provide you with greater peace of mind, knowing that your tarp is secure and capable of withstanding various weather conditions. So when setting up your tarp, don’t overlook the importance of these critical components.
Never Leave Your Tarp With A Flat Place
When setting up your tarp over your tent, it is important to avoid leaving it with a flat surface. A flat tarp can cause water to pool on top, adding weight and potentially causing damage or leaks. To prevent this, make sure to position the tarp at an angle, allowing water to easily run off. This will also help maintain tension in the tarp and prevent sagging, ensuring a more effective shelter.
Practice Before You Go Out
Before heading out on your camping trip, it is advisable to practice setting up a tarp over your tent. This practice will help you become more efficient and confident in your tarp pitching skills. Set up the tarp multiple times at home, experimenting with different methods and configurations. This will allow you to troubleshoot any issues and ensure a smoother setup process when you are out in the field.
How Do I Choose A Tarp For Camping?
When it comes to choosing a tarp for your camping adventures, there are several factors to consider to ensure you select the right one for your needs. Whether you’re looking for a camping tarp to protect your tent from the elements or create a versatile outdoor shelter, these considerations can help guide your decision-making process.
Tarp Thickness
The thickness of a tarp is an important consideration as it determines its durability and resistance to weather changes. A thicker tarp, such as those made of heavy-duty polyethylene or canvas materials, is more robust and can withstand harsh conditions like strong winds and heavy rain. On the other hand, lighter tarps made of materials like vinyl or PVC are more suitable for moderate weather conditions.
Tarp Type
When choosing a camping tarp, you’ll also need to consider the type of tarp material. The most common types include polyethylene (poly), canvas, vinyl, and PVC tarps, each with its own set of advantages and uses.
- Poly tarps are lightweight, waterproof, and affordable, making them a popular choice for general camping purposes.
- Canvas tarps are durable, breathable, and provide excellent protection against UV rays. They are ideal for long-term camping or extended outdoor stays.
- Vinyl tarps are heavy-duty and resistant to tears, making them suitable for rugged camping environments.
- PVC tarps are waterproof and UV resistant, offering superior protection against harsh weather conditions.
Tarp Size
The size of the tarp is another crucial consideration. You’ll want to ensure that the tarp provides adequate coverage for your tent and camping area. Measure the dimensions of your tent or the area you wish to cover and choose a tarp that is slightly larger to allow for proper shelter.
Ease of Use
Consider the ease of use when selecting a camping tarp. Look for features like reinforced grommets, built-in loops, and pre-attached guy lines that make setting up and attaching the tarp convenient and hassle-free. Additionally, opt for tarps that are easy to fold and store for efficient packing and transport.
Tarp Color
The color of the tarp may seem like a minor consideration, but it can have an impact on its quality and performance. Dark-colored tarps, such as green or brown, blend well with natural surroundings and offer better camouflage. Lighter-colored tarps, like silver or white, reflect sunlight and provide greater visibility during daytime.
Conclusion
Setting up a tarp over your tent without trees may require some improvisation, but it is still possible with the right techniques and equipment. Whether using poles, sticks, rocks, or other objects, you can create a sheltered area to protect your tent from rain and wind.
By becoming familiar with essential knots, using guy ropes and stakes, and practicing your tarp setup skills, you can confidently and effectively create a tarp shelter for your camping adventures. Choose a tarp that suits your needs and preferences, considering factors such as thickness, type, size, ease of use, and color.
With these methods and tips, you can enjoy dry and comfortable camping even when there are no trees nearby. So don’t let the absence of trees discourage you from pitching a tarp over your tent. Embrace the challenge and explore the alternative tarp shelter techniques, always prepared to improvise and adapt to any camping situation.
FAQ
What are the benefits of using a tarp when camping?
Using a tarp provides extra protection against precipitation, improves ventilation inside the tent, creates a sheltered area for gear storage, and makes packing up a wet tent easier.
How can I put a tarp over my tent without trees?
You can set up a tarp without trees by using poles or sticks. One method is to create an A-frame shelter using two poles or sticks. Another option is to use rocks or other objects to prop up the tarp.
What equipment do I need to set up a tarp over my tent without trees?
You will need a tarp, guy ropes or ropes, stakes, poles or sticks, and bungee cord balls.
How do I set up a tarp with one pole?
To set up a closed-end A-frame shelter with one pole, place the tarp on a flat surface and attach guy lines to the corners. Stake one guy line at the back end of the tarp and two symmetrical guy lines further into the ground. Insert the pole through the tarp and secure it with a guy line.
Can I set up a tarp with two poles?
Yes, you can create an A-frame shelter with two poles. Tie guy lines to the corners of the tarp and stake them into the ground. Insert a pole on each side of the tent and attach a ridge line between them. Hang the tarp over the ridge line, stake down the corners, and adjust the tension of the guy lines.
What if I don’t have any poles?
If you don’t have poles, you can use rocks or other objects to prop up the tarp. Another option is to attach the tarp to your tent or sleeping arrangement using guy lines and stakes.
What knots should I know for setting up a tarp?
Essential knots for tarp setup include the trucker’s hitch, slip knot, Evenk knot, two round turns, and a half hitch knot.
Why are guy ropes and stakes important for tarp setup?
Guy ropes provide tension and support to the tarp, while stakes anchor it to the ground, ensuring stability and security.
How should I position my tarp to prevent water pooling?
Position the tarp at an angle, allowing water to easily run off and preventing sagging or weight accumulation.
Should I practice setting up a tarp before going camping?
Yes, practicing tarp setup at home will help you become more efficient and confident in your skills, allowing for smoother setup in the field.
What factors should I consider when choosing a camping tarp?
Factors to consider include tarp thickness, type (poly, canvas, vinyl, PVC), size, ease of use, and color.
What are some alternative methods for setting up a tarp over a tent without trees?
Alternative methods include using sticks or objects to create a makeshift shelter, attaching the tarp to your tent, or using other natural formations for support.