Whether you’re looking to give your outdoor shelter a personalized touch or showcase your brand at events, this step-by-step guide will walk you through the process of transforming your tent into a unique masterpiece.
From choosing the best paint for tents to preparing the surface and applying the paint, this guide covers all the essential steps to achieve professional-looking and durable results. Get ready to embark on a DIY tent painting adventure that will elevate your outdoor experience.
Key Takeaways:
- Learn how to personalize and customize your tent to reflect your style or brand identity
- Follow a step-by-step guide on choosing the right paint, preparing the tent, and applying the paint correctly
- Discover the benefits of tent customization for brand visibility and creative expression
- Ensure the longevity and durability of your painted tent through proper maintenance
- Explore tent painting ideas and tips to achieve professional results
Why Customize Your Tent?
Customizing your tent offers numerous benefits beyond just practicality. It allows you to showcase your brand, increase visibility, and stand out at events and trade shows. Personalizing your tent also offers a unique way to express your creativity and make a statement. Whether you’re a business, organization, or individual, customizing your tent can leave a lasting impression and create a memorable experience for your audience.
When you customize your tent, you bring your brand to life. You can incorporate your logo, colors, and messaging, instantly enhancing brand visibility. This makes your tent a powerful marketing tool, attracting attention and generating brand recognition among a sea of competitors.
Additionally, personalizing your tent allows you to unleash your creative expression and showcase your unique style. You can choose bold and eye-catching designs, patterns, or artwork that reflect your personality and captivate the interest of onlookers. Whether you’re promoting a product, hosting an event, or simply enjoying outdoor activities, a customized tent adds a touch of individuality and sets you apart from the crowd.
“Customizing your tent provides an excellent opportunity to create a cohesive visual identity. By tailoring your tent to your brand’s colors, fonts, and imagery, you create a consistent and professional look that builds trust and brand recognition.”
Moreover, customization allows you to create a memorable and immersive experience for your audience. When people visit your tent, they’ll be captivated by the unique design and personalized elements. This not only creates a lasting impression, but it also sparks conversations, encourages engagement, and cultivates brand loyalty.
Brand Visibility
Your tent serves as a billboard for your brand. It becomes a powerful marketing asset that showcases your logo, tagline, and key messaging. By customizing your tent, you increase your brand visibility and create opportunities for potential customers or clients to recognize and remember your brand.
Personalization
Customizing your tent allows you to infuse it with your personality, tastes, and preferences. You have the freedom to choose colors, designs, and artwork that resonate with you and reflect your unique style. This personal touch not only makes your tent visually appealing but also creates a deeper connection with your audience.
Creative Expression
Customizing your tent provides a canvas for creative expression. Whether you’re an artist, designer, or someone who simply enjoys creativity, a customized tent allows you to showcase your talent and captivate the attention of others. From intricate details to bold statements, your tent becomes a work of art that tells a story and ignites conversations.
By customizing your tent, you unlock a world of possibilities. You elevate your brand, display your personality, and unleash your creativity. So, why settle for a generic tent when you can create a customized masterpiece that leaves a lasting impression?
Choosing the Right Paint for Your Tent
When it comes to painting a tent, selecting the right paint is essential in ensuring durability and long-lasting results. A high-quality paint designed specifically for outdoor use will withstand various weather conditions while maintaining its vibrant color. To find the best paint for outdoor tents, consider the following factors:
Type of Paint
Look for acrylic or fabric paints that are specially formulated for outdoor applications. These paints are designed to withstand exposure to moisture, UV radiation, and other environmental factors that tents are typically exposed to. Additionally, seek out paints that are resistant to fading, ensuring your tent’s design remains vibrant over time.
Waterproof Features
One of the most critical factors to consider when painting a tent is its waterproof properties. Opt for a paint that provides a waterproof seal, preventing water from compromising the integrity of the fabric. This feature is especially important during rainy or damp weather conditions, ensuring your tent remains dry and comfortable inside.
Compatibility with Tent Fabric
Take into account the type of fabric your tent is made of when choosing a paint. Certain paints may work better with specific fabric materials, such as canvas or nylon. Be sure to consult the tent manufacturer’s guidelines or consult with a paint specialist to ensure compatibility and avoid any potential issues.
Consulting Experts and Reading Reviews
When in doubt, seek expert guidance. Consult with a paint specialist at your local hardware store who can provide insights and recommendations based on your specific tent and painting needs. Additionally, reading customer reviews can give you valuable insights into the performance and durability of different paints, helping you make an informed decision.
Comparison of Top Paints for Outdoor Tents
| Paint Brand | Type | Waterproof | Compatibility | Customer Rating |
|---|---|---|---|---|
| Brand A | Acrylic | Yes | Canvas, Nylon | 4.5/5 |
| Brand B | Fabric | Yes | All Fabrics | 4.2/5 |
| Brand C | Acrylic | Yes | Canvas | 4.7/5 |
| Brand D | Fabric | Yes | All Fabrics | 4.3/5 |
Table: A comparison of top paints for outdoor tents. The table showcases various brands, their paint types, waterproof features, compatibility with tent fabrics, and customer ratings. Please note that customer ratings are based on online user reviews and may vary.
Image:
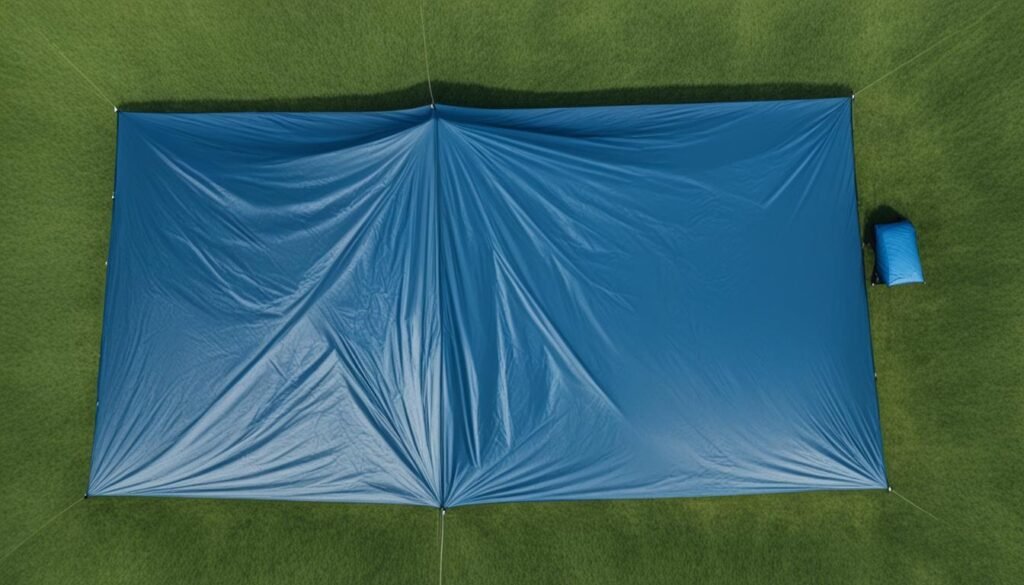
Preparing the Tent for Painting
Before diving into the exciting process of painting your tent, it’s crucial to spend some time preparing the surface. Proper tent preparation ensures optimal paint adhesion and enhances the durability of the final result. Let’s explore the essential steps involved in prepping your tent for a flawless paint job.
Clean the Tent Surface
To begin, thoroughly clean your tent surface to remove any dirt, dust, or debris that may hinder paint adhesion. Using a mild detergent or soap, gently scrub the tent with a soft brush or sponge. Pay extra attention to areas that are prone to accumulating dirt, such as seams and corners. Rinse off the soap thoroughly and allow the tent to dry completely before proceeding.
Apply a Primer
If your tent surface requires additional preparation, applying a primer is a crucial step. A primer creates a smooth and even base for the paint, ensuring better adhesion and longevity. Choose a primer specifically designed for the tent fabric you are working with. Follow the manufacturer’s instructions to apply a thin and even coat of primer, allowing it to dry completely before applying the paint.
Properly cleaning and priming your tent surface sets the stage for a successful paint job, allowing the paint to adhere better and last longer. Now that your tent is prepped, it’s time to let your creativity shine and transform your tent into a unique masterpiece.
Gathering the Painting Gear
When it comes to painting your tent, having the right painting gear is essential for achieving professional results. Whether you prefer using paintbrushes, rollers, or spray guns, having the proper tools will make the painting process smoother and more efficient.
Here are the key painting supplies for tents that you’ll need:
- Paintbrushes: High-quality paintbrushes designed for outdoor use will ensure smooth and even paint application on your tent. Look for brushes with synthetic bristles that are durable and can withstand different weather conditions.
- Rollers: Rollers are great for covering larger areas of your tent quickly. Opt for rollers with a nap length suitable for your tent fabric. Shorter naps work well for smooth fabrics, while longer naps are better for textured fabrics.
- Spray Guns: Spray guns provide a convenient and efficient way to apply paint to your tent. They are ideal for achieving a smooth and even finish. Make sure to choose a spray gun designed for outdoor use and follow the manufacturer’s instructions for proper operation.
- Drop Cloths: To protect the surrounding area from paint splatters and spills, use drop cloths. Lay them on the ground or any nearby surfaces to create a clean and safe workspace.
- Masking Tape: Masking tape is essential for creating clean lines and preventing paint bleed. Use it to mark off areas you want to keep paint-free or to create straight edges and precise designs on your tent.
Using high-quality painting gear combined with the right techniques will help you achieve professional-looking results when painting your tent. It’s worth investing in durable brushes, rollers, and spray guns that are specifically designed for outdoor use to ensure long-lasting and beautiful paint application.
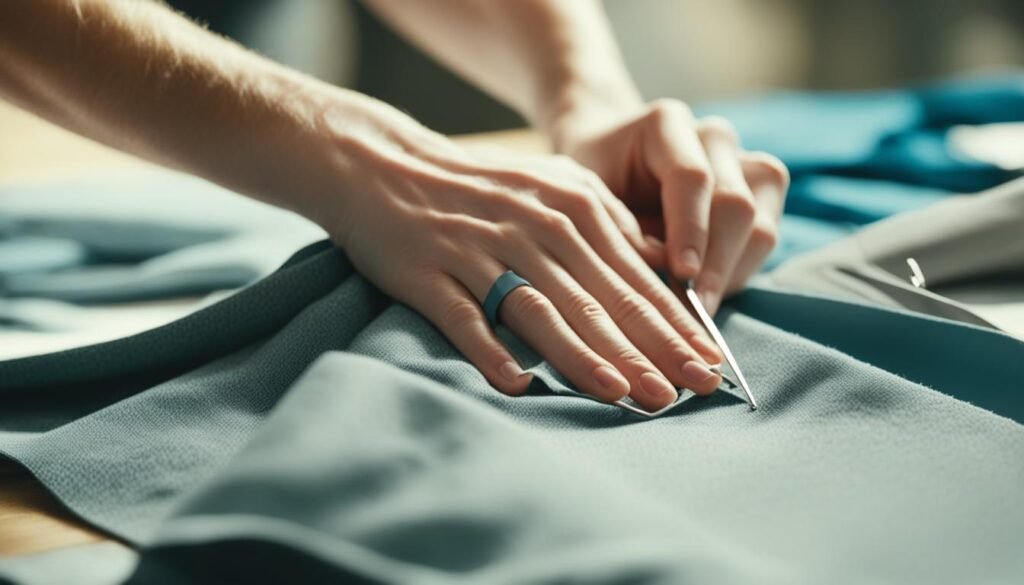
Applying the Paint to Your Tent
When it comes to painting your tent, there are several techniques you can use depending on the desired outcome and the tools at your disposal. Each technique offers its own unique benefits and considerations, ensuring that you achieve the best results for your tent transformation.
Brush Painting
Brush painting is a traditional and versatile method that allows for precise control and is suitable for detailed designs or smaller areas of your tent. By using different brush sizes and strokes, you can create intricate patterns or add fine details to your tent’s surface. This technique is ideal for those seeking a hands-on and artistic approach to their tent painting project.
Roller Painting
Roller painting is an efficient technique for covering large, flat sections of your tent. Using a paint roller with a medium to long nap, you can quickly apply paint to the tent’s surface, achieving smooth and even coverage. This method is particularly beneficial when working with larger tents or areas that require a more uniform coat of paint.
Spray Painting
Spray painting offers a professional and seamless finish for your tent. This technique creates a smooth and even coat of paint that adheres well to the fabric. It’s important to note that spray painting requires careful masking of surrounding areas and adequate ventilation to ensure safety and prevent overspray. If you have the necessary equipment and experience, spray painting can be a highly effective method for achieving a flawless result.
When choosing the right technique for your tent painting project, consider factors such as the level of detail desired, the size of the tent, and your own experience and comfort level. It’s always a good idea to practice each technique on a small test patch before committing to painting your entire tent.
| Painting Technique | Benefits | Considerations |
|---|---|---|
| Brush Painting | Allows for precise control and intricate designs | Time-consuming for larger areas |
| Roller Painting | Quick and efficient coverage of large, flat sections | May not be suitable for detailed designs |
| Spray Painting | Professional, seamless finish | Requires careful masking and adequate ventilation |
Remember to choose a painting technique that aligns with your specific goals and matches your skill level for the best results.

Curing and Sealing the Paint
After painting your tent, it’s crucial to allow the paint to cure fully before subjecting it to harsh conditions or folding it. The curing process typically takes a few days, although it’s advisable to follow the specific drying times recommended by the paint manufacturer. Patience during this stage ensures the durability and longevity of your tent’s newly painted surface.
Once the paint has fully cured, consider sealing it with a clear coat or fabric sealer to enhance its durability and provide added protection. Sealing the paint creates a barrier against moisture, UV rays, and fading, ensuring that your painted design and colors remain vibrant and intact for a longer period.
By incorporating a sealing step, you not only preserve the aesthetic appeal of your painted tent but also safeguard your investment in terms of time and effort. The sealed paint will better withstand the rigors of outdoor usage and continue to enhance the overall appearance of your tent.
Sealing the paint is an essential final touch that contributes to the long-term durability of your tent’s personalized design. It acts as a shield, guarding against potential damage caused by environmental elements and normal wear and tear.
Whether you’re using a clear coat specifically designed for outdoor fabrics or a fabric sealer suitable for your paint type, be sure to follow the application instructions carefully. A thorough and evenly applied sealer ensures optimal protection, extending the life of your tent paint and maintaining its vibrancy and visual impact.
Maintaining Your Painted Tent
To keep your painted tent looking its best, regular maintenance is necessary. Here are some essential tips to help you maintain the quality and appearance of your painted tent:
- Avoid dragging the tent across rough surfaces: Dragging your tent over rough or abrasive surfaces can cause scratches and damage to the paint. Always lift and carry the tent instead.
- Clean the tent regularly: Clean your painted tent regularly using mild soap and water. Avoid using harsh chemicals or scrubbing vigorously, as this can damage the paint. Gently wash the surface with a soft cloth or sponge.
- Perform touch-ups when necessary: Over time, the paint on your tent may start to fade or peel. To maintain a consistent appearance, perform touch-ups using the same paint color and technique. This will help keep your tent looking fresh and vibrant.
- Avoid exposure to abrasive materials: Avoid placing your painted tent near abrasive materials or sharp objects that can cause scratches or abrasions. Choose a location that minimizes contact with abrasive surfaces.
Remember, proper maintenance is key to preserving the longevity and appearance of your painted tent. By following these tips, you can enjoy your personalized tent for years to come.
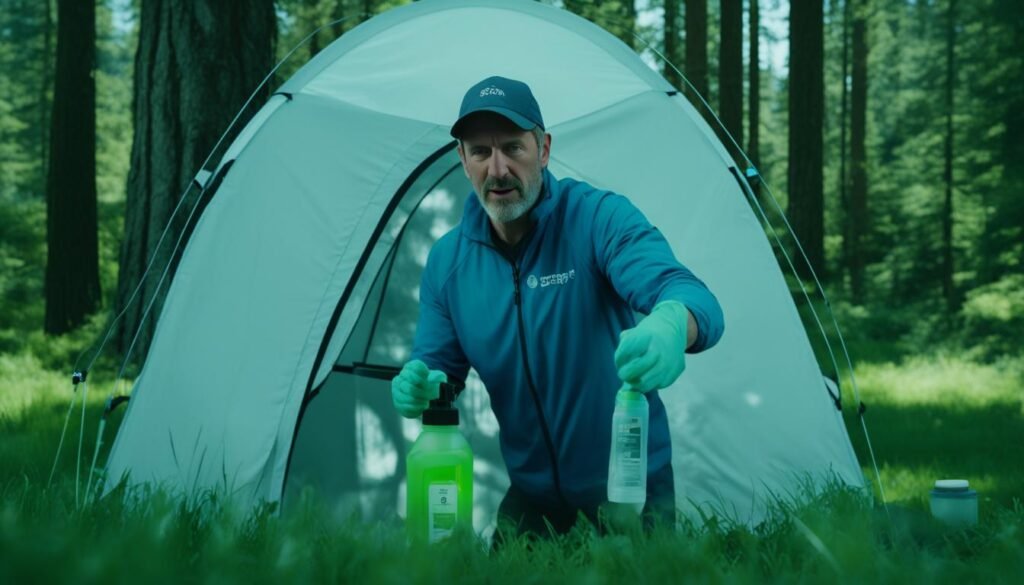
Safety Considerations
When it comes to tent painting, safety should always be a top priority. Taking the necessary precautions and wearing the right protective gear will help minimize potential risks and ensure a safe painting process.
To protect yourself from paint fumes and potential skin irritation, it is important to wear a respirator, protective eyewear, gloves, and long sleeves while painting your tent. These safety measures will safeguard your health and prevent any adverse reactions.
Working in a well-ventilated area is crucial. Adequate airflow will help dissipate paint fumes and create a safer environment for painting. If you are using a spray paint application method, setting up a spray tent will contain overspray and protect surrounding surfaces from unwanted paint particles.
Always pay close attention to the manufacturer’s instructions and safety guidelines for the specific paint products you are using. Following these instructions will ensure that you are using the paint correctly and in a way that is safe for both you and the environment.
Remember, tent painting can be a fun and creative process, but it is important to prioritize safety every step of the way. By taking the necessary safety precautions, you can enjoy a smooth and risk-free tent painting experience.
Key Safety Considerations:
- Wear a respirator, protective eyewear, gloves, and long sleeves to minimize exposure to paint fumes and potential skin irritation.
- Work in a well-ventilated area or set up a spray tent to contain overspray and protect surrounding surfaces.
- Follow all manufacturer’s instructions and safety guidelines for the paint products you are using.
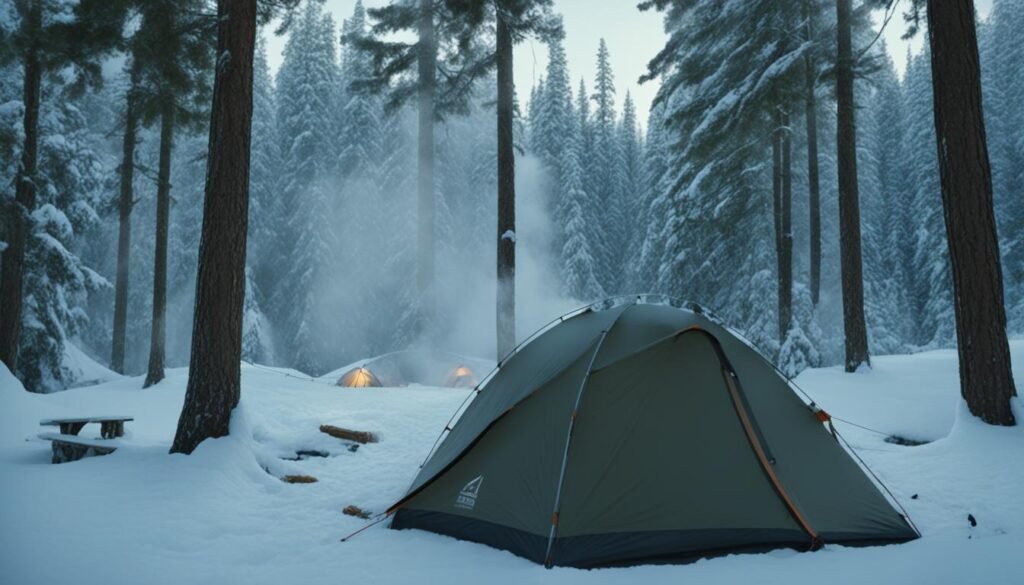
Inspiration for Tent Makeovers
Looking to personalize your tent and make it truly unique? Explore a world of tent painting ideas, creative tent designs, and custom tent examples that will inspire your own project. Whether you’re aiming for bold patterns and vibrant colors or want to incorporate your company logo or graphics, the possibilities are endless. By considering your brand image, the event or purpose of the tent, and your personal style, you can create a design that stands out and reflects your vision.
Customizing your tent with a fresh paint job not only adds an element of creativity but also helps your tent make a lasting impression. Let your imagination run wild as you explore the countless tent painting ideas and innovative designs that others have brought to life.
“The design of your tent can be a powerful communication tool, whether it’s showcasing your brand, promoting a cause, or simply reflecting your personality.”
Consider incorporating your brand colors, creating captivating patterns, or depicting scenes and landscapes that resonate with your audience. Don’t be afraid to think outside the box and explore unconventional designs that will turn heads and spark conversations.
When looking for inspiration, it’s a great idea to browse through custom tent examples from various industries. This can help you discover unique approaches to tent painting and ignite your own creativity. Whether you’re attending trade shows, hosting outdoor events, or setting up camp, your customized tent will leave a lasting impression.

Remember, tent painting is not just about transforming the physical appearance of your tent; it’s about creating an experience. Let your tent become an extension of your brand or personal style, a platform to convey your message or evoke emotions. With the right inspiration and a touch of creativity, your tent can become a captivating centerpiece at any event or outdoor gathering.
Additional Tips and Tricks
In addition to the step-by-step guide, here are some additional tips and tricks to help you achieve professional results and make your tent painting experience smoother:
1. Experiment with Different Paint Application Techniques
Before applying paint to your entire tent, it’s a good idea to experiment with different techniques on a small test patch. This will allow you to see how the paint reacts and dries on the tent fabric, giving you the opportunity to refine your methods before tackling the full project.
2. Allow Each Coat of Paint to Dry Fully
To ensure a smooth and even finish, it’s important to allow each coat of paint to dry fully before applying the next one. This will prevent smudging or peeling and help you achieve a professional-looking result. Follow the drying time instructions provided by the paint manufacturer for best results.
3. Consider Using Stencils or Masking Techniques
If you’re looking to create intricate designs or patterns on your tent, consider using stencils or masking techniques. Stencils can help you achieve precise shapes and lines, while masking allows you to create clean edges and separate different areas for different colors. These techniques can elevate your tent customization to the next level.
4. Properly Clean and Maintain Your Painting Tools
Take the time to properly clean and maintain your painting tools to ensure their longevity and optimal performance. Clean brushes and rollers thoroughly after each use, removing any excess paint and washing them with soap and water. Store them in a clean and dry place to prevent damage.
By following these additional tips and tricks, you’ll be able to enhance your tent painting skills and achieve professional results. Remember to experiment, allow for proper drying time, utilize stencils or masking techniques for intricate designs, and maintain your painting tools for long-lasting performance.
Tent Painting FAQs
As you embark on your tent painting journey, you may have some questions about the process. Here are answers to some common tent painting questions:
-
- What type of paint is best for outdoor tents?
When painting outdoor tents, it’s crucial to choose paint that is specifically designed for outdoor use. Look for paints that are labeled as waterproof and fade-resistant, such as acrylic or fabric paints. These types of paints will provide the durability and longevity needed to withstand the elements.
-
- Can I paint a tent that is already waterproof?
Yes, you can paint a tent that is already waterproof. However, it’s important to note that painting a waterproof tent may compromise its original waterproofing properties. Before you paint, consider the level of waterproofing your tent already has, as well as the specific paint you plan to use. It’s always a good idea to test a small, inconspicuous area of the tent first to ensure the paint adheres properly.
-
- How long does painted tent last?
The lifespan of a painted tent can vary depending on various factors such as the quality of the paint, the condition of the tent, and how well it is maintained. Generally, a properly painted and well-maintained tent can last several years. However, it’s important to note that exposure to harsh weather conditions and frequent use can eventually cause the paint to fade or peel. Regular cleaning and touch-ups can help extend the lifespan of a painted tent.
-
- Is it possible to remove paint from a tent?
Removing paint from a tent can be a challenging task, especially if the paint has been applied properly and has had time to cure. Depending on the type of tent fabric and the paint used, there are several methods you can try, including using solvents, heat, or scraping. However, it’s important to proceed with caution to avoid damaging the tent fabric. If you are unsure or uncomfortable with removing the paint yourself, it may be best to seek professional assistance.
When considering painting your tent, it’s always a good idea to consult the manufacturer’s instructions and consider the specific fabric and condition of your tent. This will help ensure that you choose the right paint and approach for your project, ultimately leading to successful and satisfying results.
Conclusion
Embarking on a tent painting project is an exciting venture that allows you to add a personal touch to your outdoor space. By following the step-by-step guide and utilizing the right paint, preparing the tent surface properly, and applying the paint correctly, you can transform your tent into a one-of-a-kind masterpiece.
However, it is crucial to remember that safety and maintenance should always be a priority. Make sure to prioritize safety by wearing appropriate protective gear and working in a well-ventilated area. Additionally, regular maintenance such as avoiding abrasive surfaces and cleaning the tent with mild soap and water will help preserve the longevity and durability of your painted tent.
With a little creativity and attention to detail, your tent can become a captivating expression of your personal style or brand identity. The possibilities for customization are endless, and the end result is sure to leave a lasting impression on both you and your audience. So go ahead, embrace your artistic side, and create a tent that truly stands out. Happy painting!
FAQ
What type of paint is best for outdoor tents?
The best paint for outdoor tents is typically acrylic or fabric paint that is designed specifically for outdoor use. It should be waterproof and resistant to fading to withstand different weather conditions.
Can I paint a tent that is already waterproof?
Yes, you can paint a tent that is already waterproof. However, it’s important to choose a paint that is compatible with the tent fabric and to properly prepare the surface before painting for optimal adhesion.
How long does painted tent last?
The longevity of a painted tent depends on various factors such as the quality of the paint, the type of fabric, and how well it is maintained. With proper care, a well-painted tent can last for several seasons.
Is it possible to remove paint from a tent?
While it may be possible to remove paint from a tent, it is a challenging task that can damage the tent’s fabric. It is best to avoid painting a tent if you think you might want to remove the paint in the future.