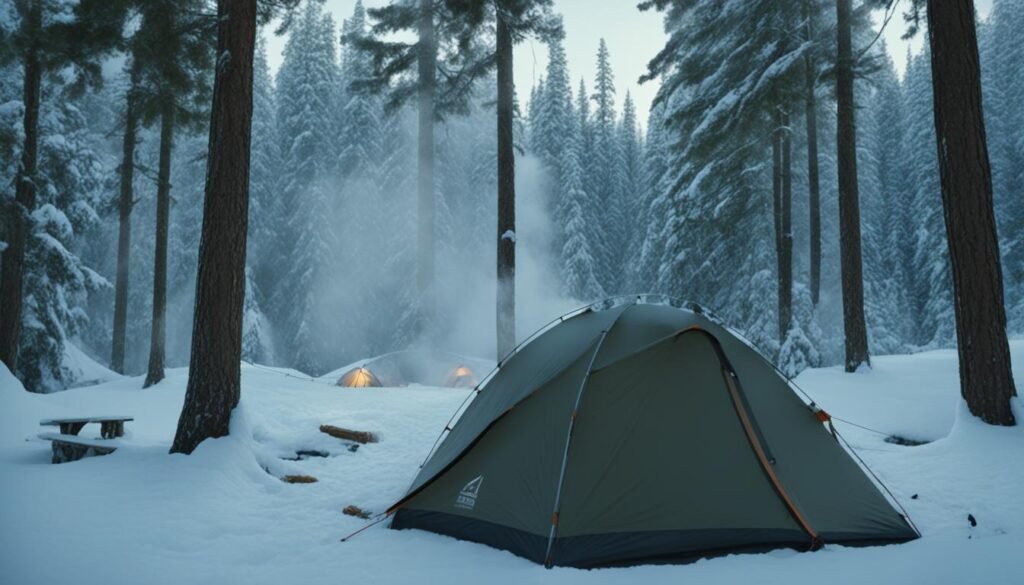
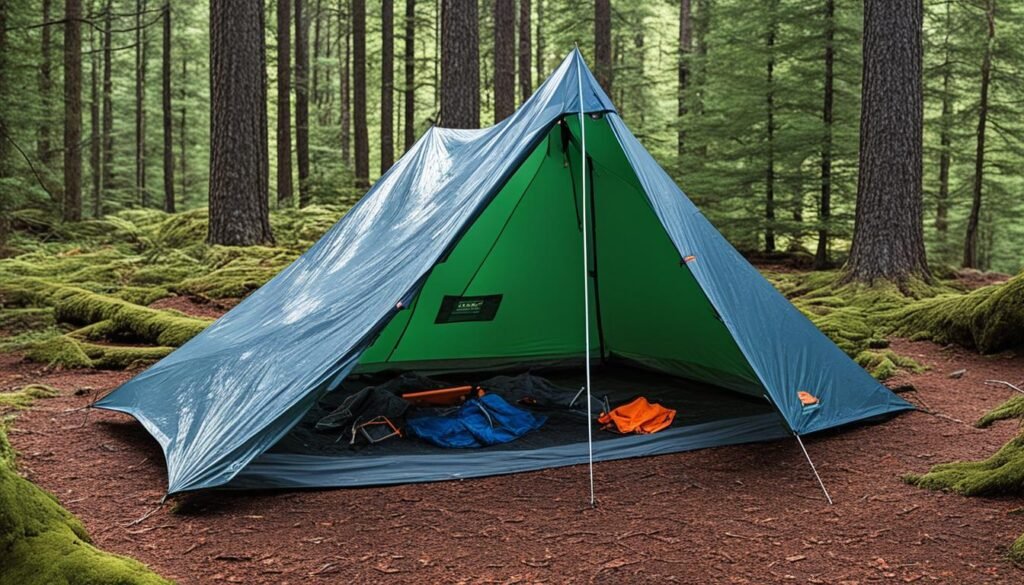
Tarping your tent can provide additional shelter and protection from the elements. It is a useful technique for keeping your camping setup dry and cozy. In this article, I will guide you through the steps of tarping a tent and provide tips for a successful tarp setup.
Key Takeaways:
- Tarping your tent adds an extra layer of protection and comfort to your camping experience.
- Experiment with different tarp angles and configurations to find the ideal setup for your tent.
- Ensure a proper fit by positioning grommets and securing the tarp with ropes.
- Consider using padding or sacrificial wear layers to prevent damage to the tarp.
- Invest in mini line-loks and proper guylines to enhance stability and functionality.
Experimenting with Canopies: Gelert Mini Tent Canopy
The Gelert Mini Tent Canopy is a popular choice among campers looking to create a sheltered space in front of their tent. This versatile accessory provides shade and helps keep belongings cool, enhancing the overall camping experience.
However, it is important to note that the Gelert Mini Tent Canopy may not be suitable for all tent shapes. To maximize its effectiveness, it is crucial to ensure a tight and secure fit. This will prevent sagging and potential damage in windy conditions, ensuring a safe and comfortable camping environment.
If you are considering using the Gelert Mini Tent Canopy, follow these tarp tent tips for a successful setup:
- Choose a canopy size that matches the dimensions of your tent. A properly sized canopy will provide optimal coverage and protection.
- Ensure a secure attachment by using the provided straps or cords to tie down the canopy. This will minimize the risk of it coming loose during strong winds.
- Check the tension regularly to adjust as needed. A tightened canopy will not only offer better protection but also maintain its structural integrity.
By experimenting with the Gelert Mini Tent Canopy and following these tarp tent tips, you can create a comfortable and sheltered space outside your tent, allowing you to enjoy the great outdoors without worrying about unpredictable weather conditions.
Pros and Cons of the Gelert Mini Tent Canopy
| Pros | Cons |
|---|---|
| Provides shade | May not fit all tent shapes |
| Helps keep belongings cool | Potential sagging in windy conditions |
| Enhances camping experience | Requires regular tension adjustments |
Using a Tarp for Wind Protection: Alpkit Tarp
The Alpkit Tarp is a versatile and compact option for enhancing your camping setup. Although smaller than the Gelert canopy, this tarp offers a better fit for your tent shape, ensuring optimal protection from the elements. Besides providing a shaded spot in front of your tent, the Alpkit Tarp is specifically designed to withstand strong winds, offering a reliable barrier against gusts that could compromise your tent stability.
When camping in an unpredictable environment, the Alpkit Tarp is a valuable asset for safeguarding your tent from rainfall. Its waterproofing capabilities keep the rain at bay, preventing water from seeping into your sleeping area. By setting up the Alpkit Tarp strategically, you can create an additional layer of protection that shields your tent entrance from rain, wind, and sun, enhancing your overall camping experience.
Equipped with the Alpkit Tarp and armed with valuable tarp tent tips, you can confidently face various camping scenarios. Whether you’re camping in a windy coastal area or expecting rain showers during your mountain adventure, this tarp is designed to provide the necessary protection while adding convenience and versatility to your camping setup.
By integrating the Alpkit Tarp into your camping gear, you’ll not only ensure the longevity of your tent but also create a comfortable and sheltered outdoor living space. With its windproof and waterproof features, this tarp is a reliable companion for any camping enthusiast.
Finding the Right Setup: Tarp at a Jaunty Angle
When it comes to tarping your tent, experimenting with different angles and configurations can make a significant difference in finding the ideal setup. By adjusting the position and tension of the tarp, you can create a sheltered area that suits your specific needs and provides maximum protection. But how do you find the perfect angle for your tarp? Let me share some tarp tent tips and DIY tent tarping techniques to help you on your camping adventures.
First and foremost, it is crucial to pay attention to the wind direction. By positioning your tarp at an angle that allows the wind to flow over it, you can minimize the risk of it catching the wind and compromising the stability of your setup. This will also prevent any unnecessary flapping noises that can disturb your sleep and make your camping experience less enjoyable.
One technique that many campers find effective is to set up the tarp with a slight “lean-to” angle. This means anchoring one edge of the tarp lower than the opposite side, creating a sloping roof-like structure. This configuration provides better protection against rain as it allows the water to run off more easily.
Additionally, you might consider using a ridge line to create a more stable tarp setup. A ridge line is a cord or rope that runs between two anchor points, such as trees or poles. By attaching the tarp to the ridge line and adjusting the tension, you can achieve a more secure and reliable setup.
Remember, finding the right tarp setup is not a one-size-fits-all approach. It may require some trial and error to discover the configuration that works best for your specific tent and camping environment. Don’t be afraid to make adjustments and try different angles until you find the perfect fit.
Whether you are a seasoned camper or new to outdoor adventures, these camping tarp techniques can enhance your camping experience by providing additional shelter and protection. By finding the right setup and positioning your tarp at a jaunty angle, you can create a comfortable and secure space to enjoy the great outdoors.
Stay tuned for the next section, where we will discuss different tarp variations and how to optimize their protection.
Optimizing Protection: Tarp Variations
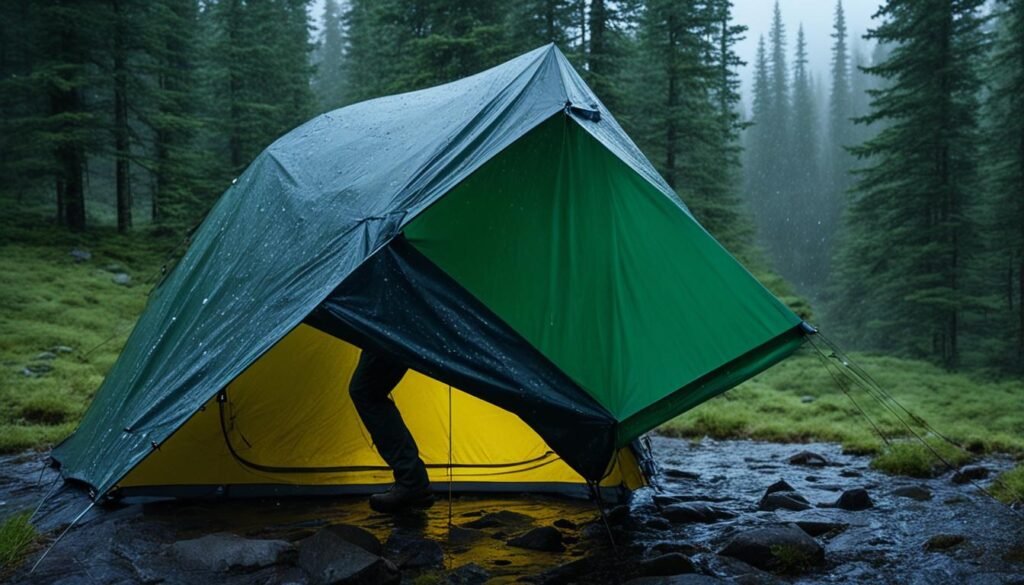
When tarping your tent, there are several adjustments you can make to optimize its protective qualities and ensure a more comfortable camping experience. By implementing these tarp variations, you can increase the effectiveness of your tarp setup and enhance your tent’s resistance to rain and other elements.
Padding and Sacrificial Wear Layers
One way to optimize your tarp setup is by adding padding or sacrificial wear layers in strategic areas where the tarp crosses the central spine. This extra layer acts as a cushion and provides additional protection against potential damage. By preventing direct contact between the tarp and the tent, you can increase its lifespan and maintain its waterproofing properties.
Mini Line-Loks and Proper Guylines
To improve the stability and functionality of your tarp setup, consider investing in mini line-loks and using proper guylines. Mini line-loks are lightweight tensioners that allow you to quickly and easily adjust the tension of your tarp. By keeping the tarp taut, you ensure better protection against wind and rain. Additionally, using quality guylines made from durable materials will further enhance the overall stability of your tarp setup.
Optimizing your tarp setup with padding, sacrificial wear layers, mini line-loks, and proper guylines can significantly improve the protective qualities of your tarp and enhance your camping experience. These simple adjustments can make a big difference, keeping your tent dry and comfortable even in challenging weather conditions.
Additional Tips:
- Choose high-quality tarps that are specifically designed for waterproofing and durability.
- Regularly inspect your tarp for signs of wear and tear, and replace it if necessary.
- Ensure proper tension and tightness when securing your tarp to maximize its protective capabilities.
- Consider using a footprint or groundsheet underneath your tent to provide an extra layer of protection from moisture.
- Practice setting up and adjusting your tarp in different weather conditions to become more proficient and efficient.
“By making slight adjustments to your tarp setup, you can optimize protection and enjoy a more comfortable camping experience.”
Step-by-Step Tutorial: Setting Up a Square Tarp
Tarping a tent with a square tarp is a simple and effective technique to create a sheltered area. Follow these easy steps to secure your tarp and enjoy a comfortable camping experience.
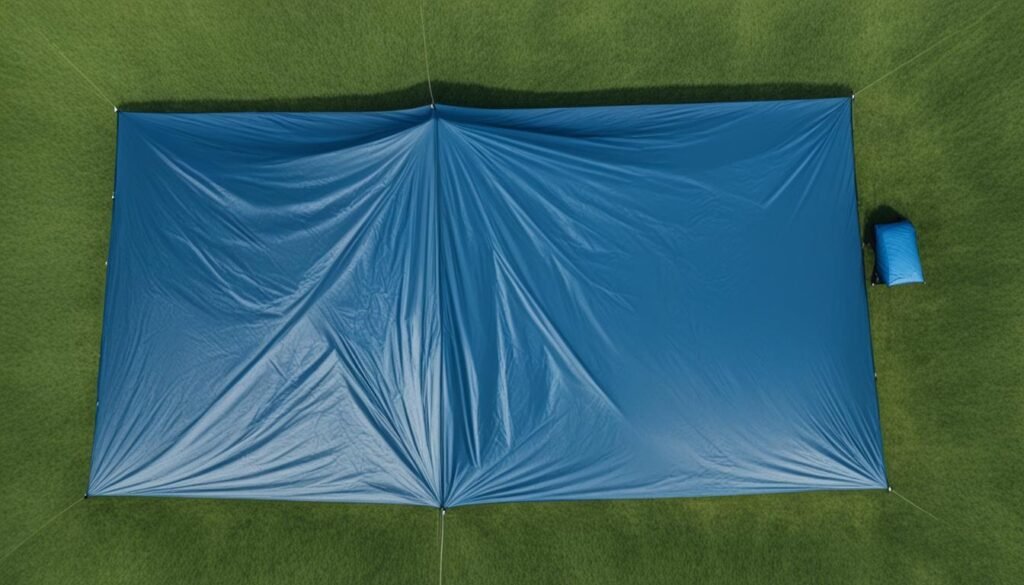
- Lay out the square tarp flat on the ground, making sure it is free from any wrinkles or folds.
- Familiarize yourself with the loop positions on the tarp. These loops will be used to secure the tarp to the structures.
- Choose two sturdy structures, such as trees or poles, that are the appropriate distance apart for your desired tarp size.
- Position the tarp over the chosen structures, aligning the loops with the anchors.
- Insert stakes into the ground at each corner of the tarp and secure the loops tightly to the stakes.
- Adjust the tension of the tarp by using an adjustable hiking pole or cordage. Place the pole or cordage between the top center loop and the ground, creating a raised and taut center section.
- Ensure that the tarp is tightly secured and doesn’t sag or flap in the wind.
By following these steps, you can easily set up a square tarp for your camping needs. Remember to choose the right size tarp for your tent and weather conditions, and make any necessary adjustments to ensure a snug and secure fit.
Setting up a square tarp is a straightforward process that can offer effective shelter in various camping scenarios. Whether you’re looking for shade during a sunny day or protection from light rain, a square tarp can provide the coverage you need.
Recommended Tarp Sizes
| Tent Size | Recommended Tarp Size |
|---|---|
| 1-2 person tent | 8′ x 10′ |
| 3-4 person tent | 10′ x 12′ |
| 5-6 person tent | 12′ x 16′ |
| 7+ person tent | 16′ x 20′ |
Adding Final Adjustments: Tightening the Tarp
Now that you have positioned your tarp, it’s time to make some final adjustments to ensure a secure and effective setup. By paying attention to these details, you can optimize the effectiveness of your tarp tent and enhance your camping experience.
One important adjustment is narrowing the doorway by tightening the front stakes. This will create a snug fit and prevent any gaps that could let in rain or bugs. Make sure the stakes are firmly planted in the ground, and use a mallet or other sturdy object to secure them.

Another technique to enhance stability is tying the front loops of the tarp to the left and right stakes. This added support will further secure the tarp and provide stability in windy conditions.
Remember, proper tension and secure fastening are key to a successful tarp setup. Take the time to adjust and tighten the tarp until you achieve the desired fit and stability. This will ensure that your tarp provides optimal protection against the elements and enhances your camping experience.
By implementing these tips and techniques, you can maximize the benefits of your DIY tent tarping. The final adjustments will ensure a tight and secure tarp setup, allowing you to enjoy your camping trip with peace of mind.
Hanging a Tarp over Your Tent
Hanging a tarp over your tent is a practical way to enhance your camping experience by providing shade and protection from the elements. Whether you’re looking to shield your tent from rain or create a comfortable outdoor lounge area, a properly hung tarp can serve as a versatile and effective solution. Here are some steps to follow when hanging a tarp over your tent:
1. Find Suitable Structures
Start by identifying two sturdy structures in close proximity to your tent, such as trees or buildings. These structures will serve as anchor points for hanging the tarp. Ensure that the structures are at an appropriate distance from your tent, allowing the tarp to cover the desired area.
2. Prepare the Tarp
Ensure that the tarp is clean and free from debris. Lay it out flat, inspecting for any tears or holes that may compromise its functionality. Carefully open the tarp, making sure there are no folds or wrinkles that could affect its overall coverage.
3. Secure the Tarp
Use ropes or cords to tie one side of the tarp to the first structure, making sure it is tightly secured. Then, extend the tarp over the desired area, allowing it to cover your tent. Finally, secure the opposite side of the tarp to the second structure, ensuring a taut and effective cover.
4. Adjust the Tarp
Once the tarp is secured, take a step back and assess its position and tension. If necessary, make any adjustments to ensure the tarp is properly aligned and stretched. This will help prevent sagging or flapping in the wind, ensuring optimum protection for your tent and campsite.
5. Test for Stability
Gently tug on the tarp from various angles to test its stability. If the tarp feels loose or unstable, reposition the ropes or cords to achieve a tighter fit. It’s essential to ensure that the tarp is securely fastened to the structures and can withstand wind or rain without compromising its functionality.
By following these steps, you can effectively hang a tarp over your tent, creating a shaded and protected outdoor space. Remember to choose a tarp that is suitable for your tent size and the weather conditions you may encounter during your camping trip.
Example Table
| Tarp Material | Waterproof Rating | Size | Weight |
|---|---|---|---|
| Polyester | 3000mm | 10ft x 10ft | 2lbs |
| Nylon | 5000mm | 12ft x 12ft | 1.5lbs |
| Silnylon | 8000mm | 8ft x 10ft | 1lb |
Table: Comparison of different tarp options for tent coverage. The table compares the material, waterproof rating, size, and weight of three tarp options suitable for camping.
Maximizing the Benefits: Proper Tarp Fit
To reap the maximum benefits of tarping, it is crucial to ensure a proper fit. The tarp should adequately cover the tent and have enough space to offer shade and protection. Carefully position the grommets and use ropes to secure the tarp, creating a raised center section with side flaps that can deflect rain, wind, and sun.
To achieve a proper tarp fit, follow these essential steps:
- Begin by selecting a tarp that is appropriate for the size and shape of your tent. Measure the dimensions of your tent and choose a tarp that provides enough coverage.
- Position the tarp evenly over the tent, ensuring that it extends beyond all the sides. This will create overhangs that provide protection against rain and direct sunlight.
- Secure the tarp to the tent by using ropes or bungee cords, attaching them through the grommets on the tarp and around the tent’s frame or stake loops.
- Adjust the tension of the tarp to ensure a taut fit. This will prevent water pooling and ensure that the tarp can effectively deflect wind and rain.
- Create a raised center section by pulling the tarp upwards and securing it to a tree or other stable structure. This will provide additional headroom and help rainwater to run off the sides.
- Lastly, create side flaps by pulling the tarp outwards and securing the edges with stakes or additional ropes. This will prevent rain and wind from entering the sheltered area.
Proper tarp fit is essential for maximizing the benefits of tarping your tent. It ensures that you have an effective rain cover, provides additional shade, and helps to keep your camping setup dry and comfortable. By following these steps and adjusting the tarp as needed, you can enjoy a hassle-free camping experience in various weather conditions.
Conclusion
Tarping a tent is a valuable technique that can enhance your camping experience by providing additional protection and comfort. By exploring different tarp options, experimenting with various angles and setups, you can find the perfect fit for your tent shape and weather conditions.
To master the art of tarping your tent effectively, follow the step-by-step tutorials and tips provided in this article. Learn how to tarp a tent by laying out the tarp flat, securing it between two structures, and making final adjustments to optimize its effectiveness.
Remember, the key to successful tent tarp setup is ensuring a proper fit. Make sure the tarp adequately covers the tent and provides shade and protection where you need it most. By utilizing the techniques shared in this article, you can create a cozy and well-protected camping space.
FAQ
How do I tarp a tent for additional shelter?
Tarping a tent involves using a tarp to provide extra shelter and protection. You can follow step-by-step tutorials and tips to effectively tarp your tent and keep your camping setup dry and cozy.
What is the Gelert Mini Tent Canopy used for?
The Gelert Mini Tent Canopy is a popular choice for creating a sheltered space in front of the tent. It provides shade and helps keep your belongings cool. However, it may not fit all tent shapes perfectly, so a tight and secure fit is crucial.
How can the Alpkit Tarp help with wind protection?
The Alpkit Tarp is a smaller option compared to the Gelert canopy but offers a better match for your tent shape. It offers protection against strong winds and helps keep the tent dry during rainfall. It can also provide a shaded spot in front of the tent.
What are some tips for finding the right tarp setup?
When tarping your tent, experimenting with different angles and configurations can help you find the ideal setup. By adjusting the position and tension of the tarp, you can create a sheltered area that suits your needs. Pay attention to the wind direction and make modifications accordingly to ensure the tarp stays secure.
How can I optimize the protection of my tarp setup?
To enhance the protective qualities of your tarp setup, consider adding padding or sacrificial wear layers where the tarp crosses the central spine to prevent potential damage. Investing in mini line-loks and proper guylines can also improve stability and functionality.
What is the process for setting up a square tarp?
To set up a square tarp, start by laying the tarp flat and familiarizing yourself with the loop positions. Use stakes and an adjustable hiking pole or cordage to secure the tarp between two structures, creating a taut and functional shelter. Makes sure to make final adjustments for a snug fit.
How can I add final adjustments to my tarp setup?
After positioning the tarp, you can tighten the front stakes to narrow the doorway for a snug fit. You can also tie the front loops to the left and right stakes for added stability. These final adjustments optimize the effectiveness of your tarp setup.
How do I hang a tarp over my tent?
Hanging a tarp over your tent provides shade and protection from the elements. Find two structures, such as trees or buildings, to tie the tarp between. Ensure that the tarp is properly opened with no folds and use ropes to secure it to the structures while maintaining a taut and effective cover.
How important is a proper tarp fit for maximizing benefits?
To maximize the benefits of tarping, it’s crucial to ensure a proper fit. The tarp should adequately cover the tent and have enough space to offer shade and protection. Carefully position the grommets and use ropes to secure the tarp, creating a raised center section with side flaps that can deflect rain, wind, and sun.
How can tarping a tent enhance my camping experience?
Tarping a tent adds an extra layer of protection and comfort to your camping experience. By experimenting with different tarp options, angles, and setups, you can find the perfect fit for your tent shape and weather conditions.


